Introduction
In the realm of data security, managing sensitive information effectively is paramount, and HashiCorp Vault emerges as a powerful tool designed to safeguard secrets and streamline access control. This article serves as a comprehensive guide for organizations seeking to harness the full potential of Vault, covering essential steps from setting up the server to implementing robust access policies. Readers will gain insights into:
- Configuring authentication methods
- Managing secrets engines
- Ensuring data integrity through effective backup and restoration practices
By following these detailed instructions, organizations can establish a secure environment that not only protects valuable data but also enhances operational efficiency.
Getting Started: Setting Up Your HashiCorp Vault Server
To establish your HashiCorp Vault server effectively, adhere to the following steps:
-
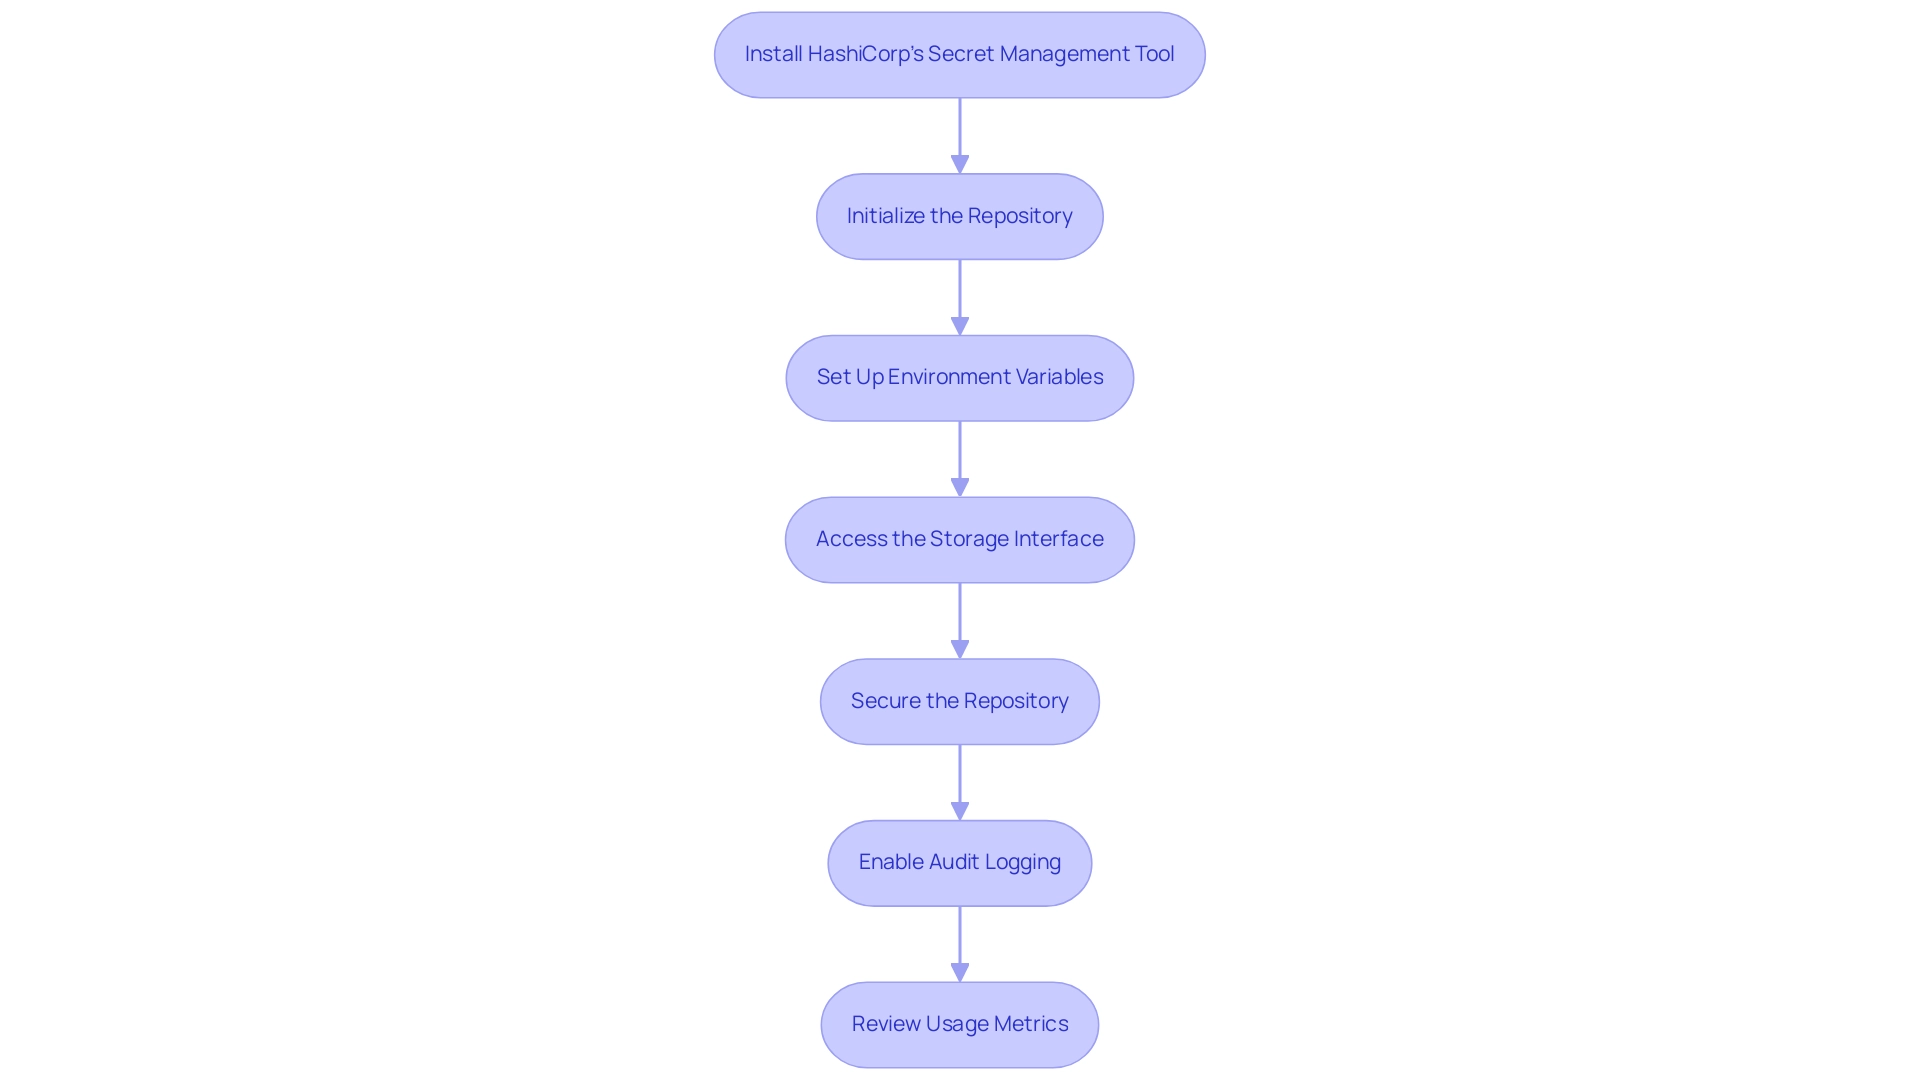
Install HashiCorp's Secret Management Tool: Begin by downloading the latest version of HashiCorp's Secret Management Tool from the official website. Ensure you follow the installation instructions tailored for your operating system, whether it be Linux, macOS, or Windows.
-
Initialize the Repository: Once installation is complete, launch your terminal and execute the command
vault server -devto initiate the server in development mode. This mode is primarily intended for testing and development scenarios, making it an ideal starting point. -
Set Up Environment Variables: Properly configure the environment variables for Vault by running the following commands:
bash
   export VAULT_ADDR='http://127.0.0.1:8200'
   export VAULT_TOKEN='your-token'
Setting these variables enables seamless interaction with the Vault server.
-
Access the Storage Interface: To interact with your instance, open your web browser and navigate to
http://127.0.0.1:8200/ui. This will lead you to the user interface, where you can manage your secrets and configurations. -
Secure the Repository: When preparing for production use, it is imperative to establish a robust backend storage solution (such as Consul or AWS S3) and configure TLS for secure communication. This step is essential in protecting sensitive data and ensuring adherence to safety standards.
Notably, the retention period for activity logs can be set to a maximum of 48 months, which is essential for compliance and data management.
- Enable Audit Logging: Implement audit logging to keep track of access and modifications made within the repository.
Activate audit logging by executing:
bash
   vault audit enable file file_path="/var/log/vault_audit.log"
This practice ensures accountability and transparency in operations, vital for maintaining security.
In the words of John Martinez, Technical Evangelist at StrongDM, "In this blog post, we’ll look at a few HashiCorp options, with my take on the strengths and weaknesses of each approach." This perspective can be valuable when considering different methods of securing data.
- Review Usage Metrics: To gain insights into your storage's performance, you can utilize commands such as
vault operator usage -namespace education. This command allows you to narrow the scope of usage metrics specifically for the education namespace, providing practical context.
For example, the filtered output indicated a total of 241 entity clients and 253 non-entity clients within the education namespace, with a total of 494 active clients for the same billing period.
By meticulously following these steps and incorporating these insights, you will successfully configure a functional HashiCorp server, laying the groundwork for further enhancements and secure data management.
Understanding Authentication Methods in HashiCorp Vault
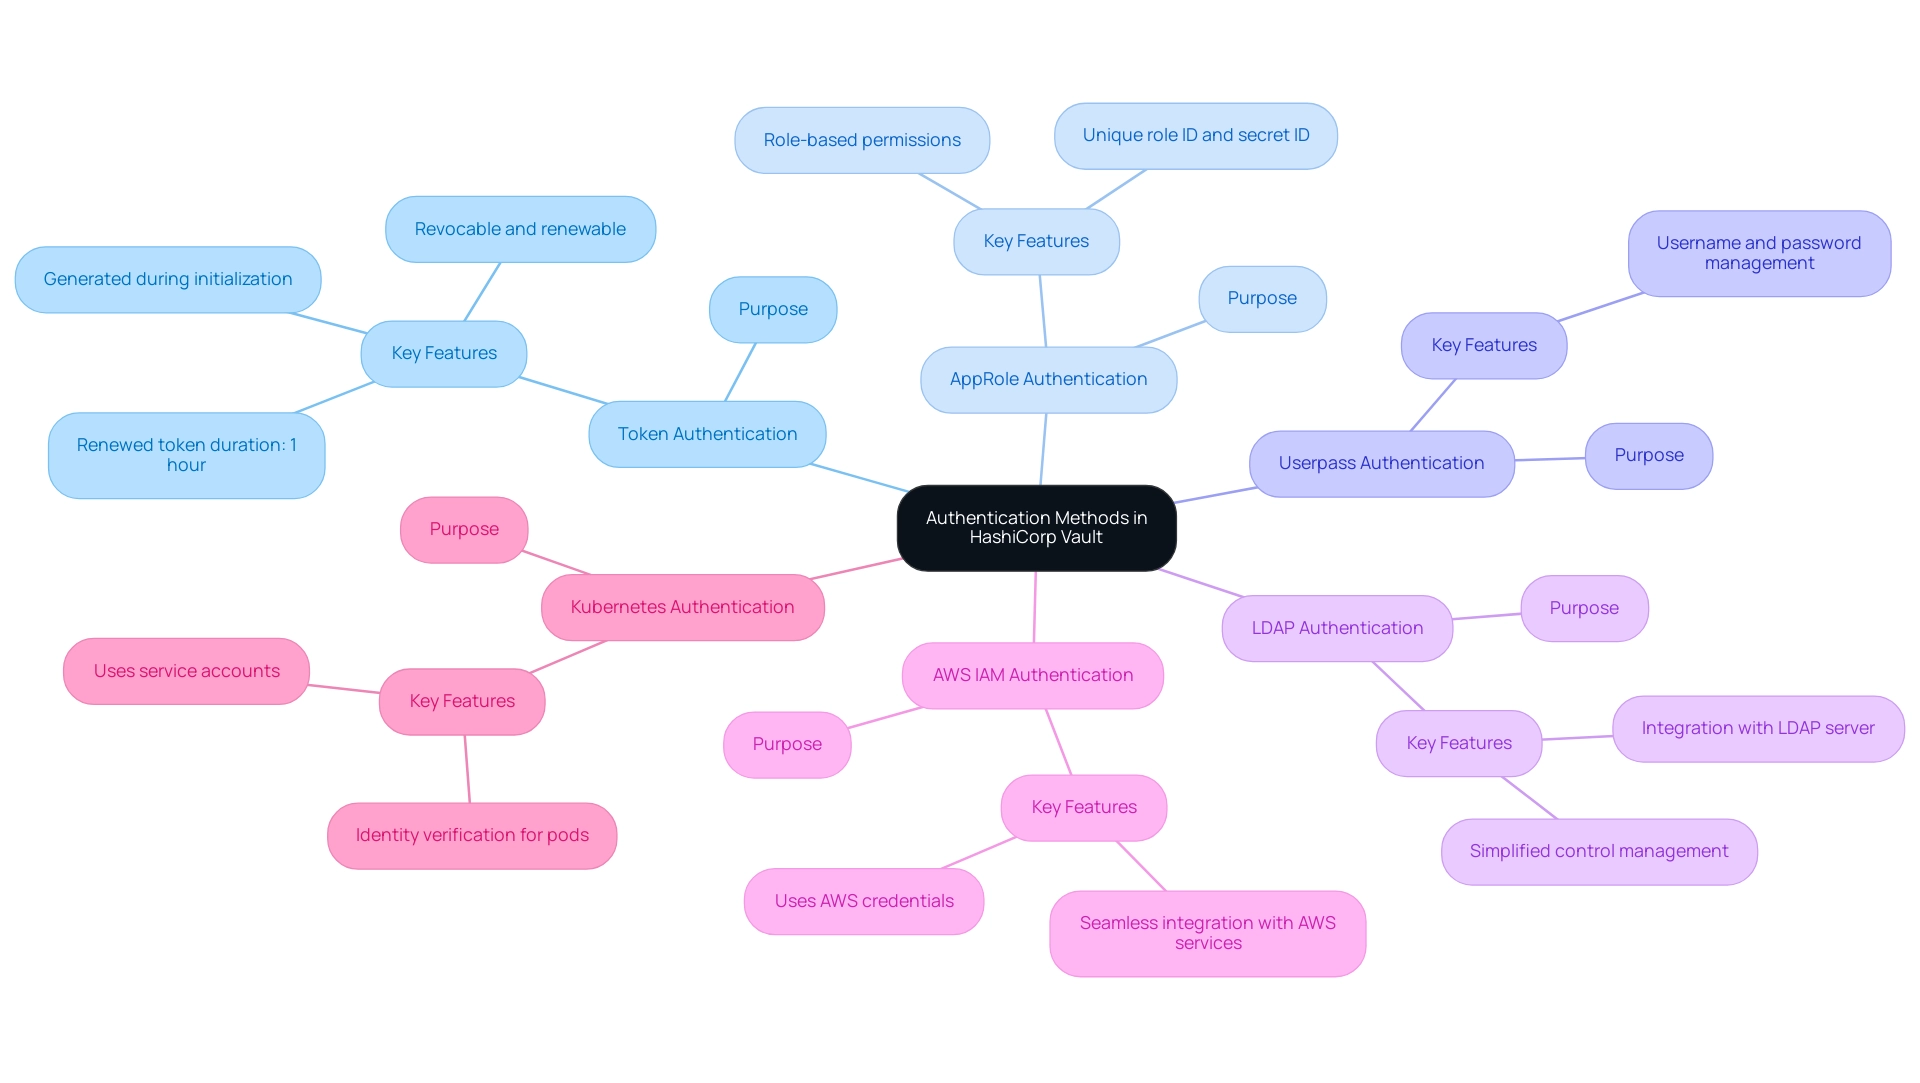
The HashiCorp Vault self-hosted solution offers a robust array of authentication methods designed to secure access to sensitive information. Grasping these techniques is essential for enhancing the security and flexibility of your implementation. Here is an overview of the most common authentication methods:
-
Token Authentication: This foundational method allows users to authenticate using a token generated during the Vault initialization process. Tokens can be revoked or renewed, with a new duration for renewed tokens set at 1 hour, ensuring timely access control.
-
AppRole Authentication: Tailored for machines and applications, AppRole authentication assigns roles with specific permissions. Each role generates a unique role ID and secret ID, enhancing security for automated processes.
-
Userpass Authentication: This method permits users to authenticate with a username and password, making it suitable for contexts where user credentials must be managed directly within Vault.
-
LDAP Authentication: For organizations utilizing LDAP for user management, the system can be configured to authenticate users against the LDAP server. This integration simplifies control management and enhances operational efficiency.
-
AWS IAM Authentication: This method allows AWS users or roles to authenticate to the system using their AWS credentials, facilitating seamless integration with AWS services and enhancing security within cloud environments.
-
Kubernetes Authentication: Ideal for applications running within a Kubernetes cluster, this approach allows pods to verify their identity with the secret management system using service accounts, streamlining credential management in dynamic environments.
To set up any of these authentication methods, enter the UI, select the 'Authentication' tab, and follow the instructions to enable and configure your preferred method. Ensuring proper implementation of these authentication methods is essential when using HashiCorp Vault self-hosted to restrict access to authorized personnel only, thereby safeguarding sensitive information stored within the repository.
Additionally, comparing the last WAL index between primary and secondary clusters can help identify sync issues, which is crucial for maintaining operational efficiency and security.
Recent audit device metrics have revealed that tracking the number of audit log request and response failures is vital for effective error monitoring, further underscoring the need for robust authentication practices.
For practical application, consider the case study titled 'Using the Expander.' This part describes how to utilize the expander in Grafana, outlining the syntax for variable expansion to retrieve information stored in the system. The application of the expander enables Grafana users to dynamically retrieve sensitive information, enhancing the flexibility and security of configuration management.
Configuring Secrets Engines in HashiCorp Vault
Setting up an engine in HashiCorp Vault is an essential procedure for efficient management of sensitive information. Here’s a detailed guide on how to proceed:
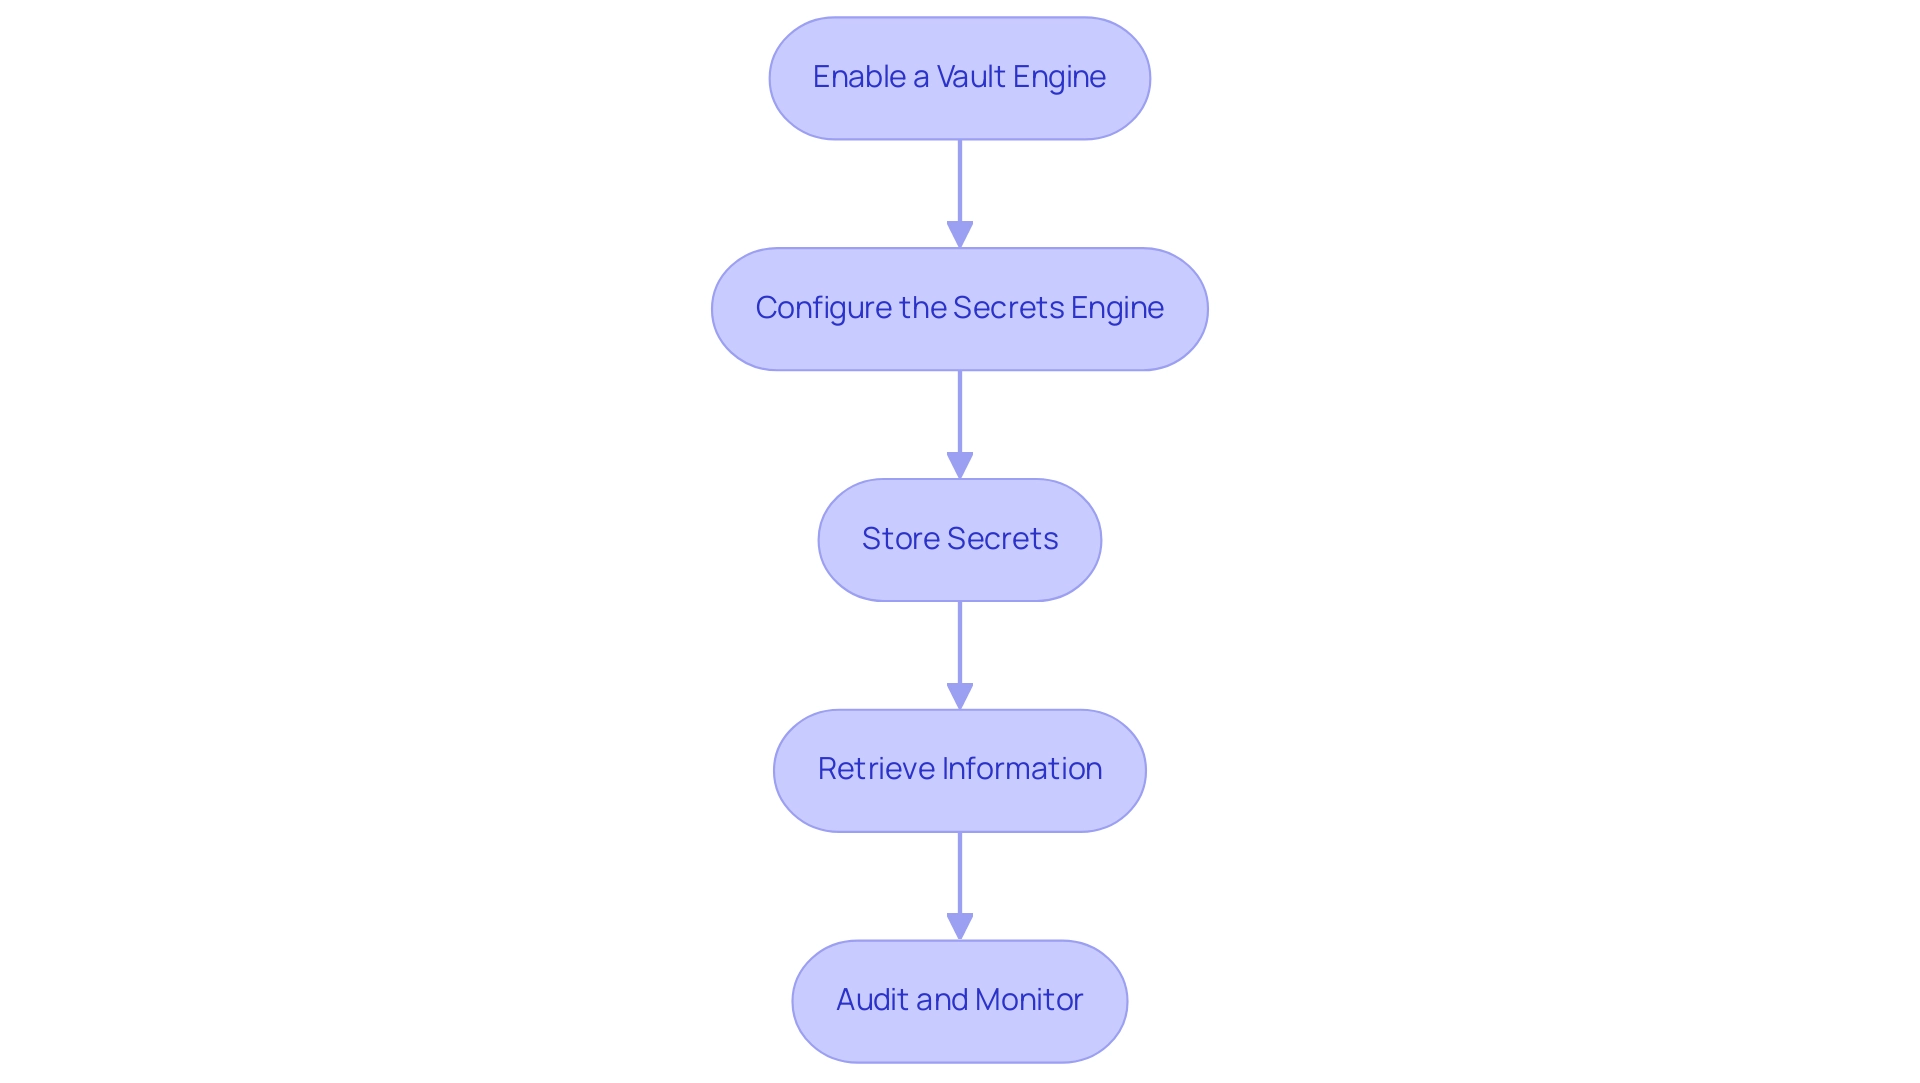
- Enable a Vault Engine: Begin by enabling a vault engine, such as the key/value vault engine. Execute the following command:
bash
   vault secrets enable -path=secret kv
This command sets the foundation for managing secrets securely within your environment. With a growing number of clients, including the 9 entity clients and 7 non-entity clients reported in the test-ns-2/, the significance of a strong management system is emphasized.
- Configure the Secrets Engine: Depending on your specific requirements, you may need to configure various parameters. For instance, to limit the number of versions for the key/value secrets engine, use:
bash
   vault kv metadata put secret/my-secret --max-versions=5
As noted by Stenio Ferreira, a Solution Architect, managing the lifecycle of secrets is crucial for security, particularly in complex environments. Establishing a maximum version improves control over management and reduces potential risks linked to outdated information.
- Store Secrets: To securely store your secrets, utilize the command below:
bash
   vault kv put secret/my-secret username='user' password='pass'
This step effectively encapsulates sensitive data, ensuring it is encrypted and safeguarded. The case study on 'Storage Backends in Vault' demonstrates that by regarding storage as untrusted entities, even if storage is compromised, confidential information remains safeguarded due to encryption.
- Retrieve Information: Accessing your stored data is straightforward. Use the following command to retrieve them:
bash
   vault kv get secret/my-secret
Quick access to secrets is crucial for operational efficiency while maintaining security protocols.
- Audit and Monitor: Regular audits of stored secrets and monitoring log entries are essential for maintaining compliance and security. Utilize the audit logging feature set up in your system to monitor usage patterns and guarantee that sensitive information stays secure.
As noted in industry practices, consistent monitoring can significantly reduce the risk of unauthorized access and data breaches.
By meticulously following these steps, organizations can configure and manage secrets within HashiCorp's system effectively, ensuring the secure handling of sensitive information. This approach reflects best practices in the field, enhancing both security and operational integrity.
Implementing Access Policies in HashiCorp Vault
Establishing permission policies in HashiCorp's storage solution is an essential measure in protecting sensitive information and operations. With 9 Entity Clients and 7 Non-Entity clients utilizing Vault, it’s essential to follow these structured steps to effectively define and manage access policies:
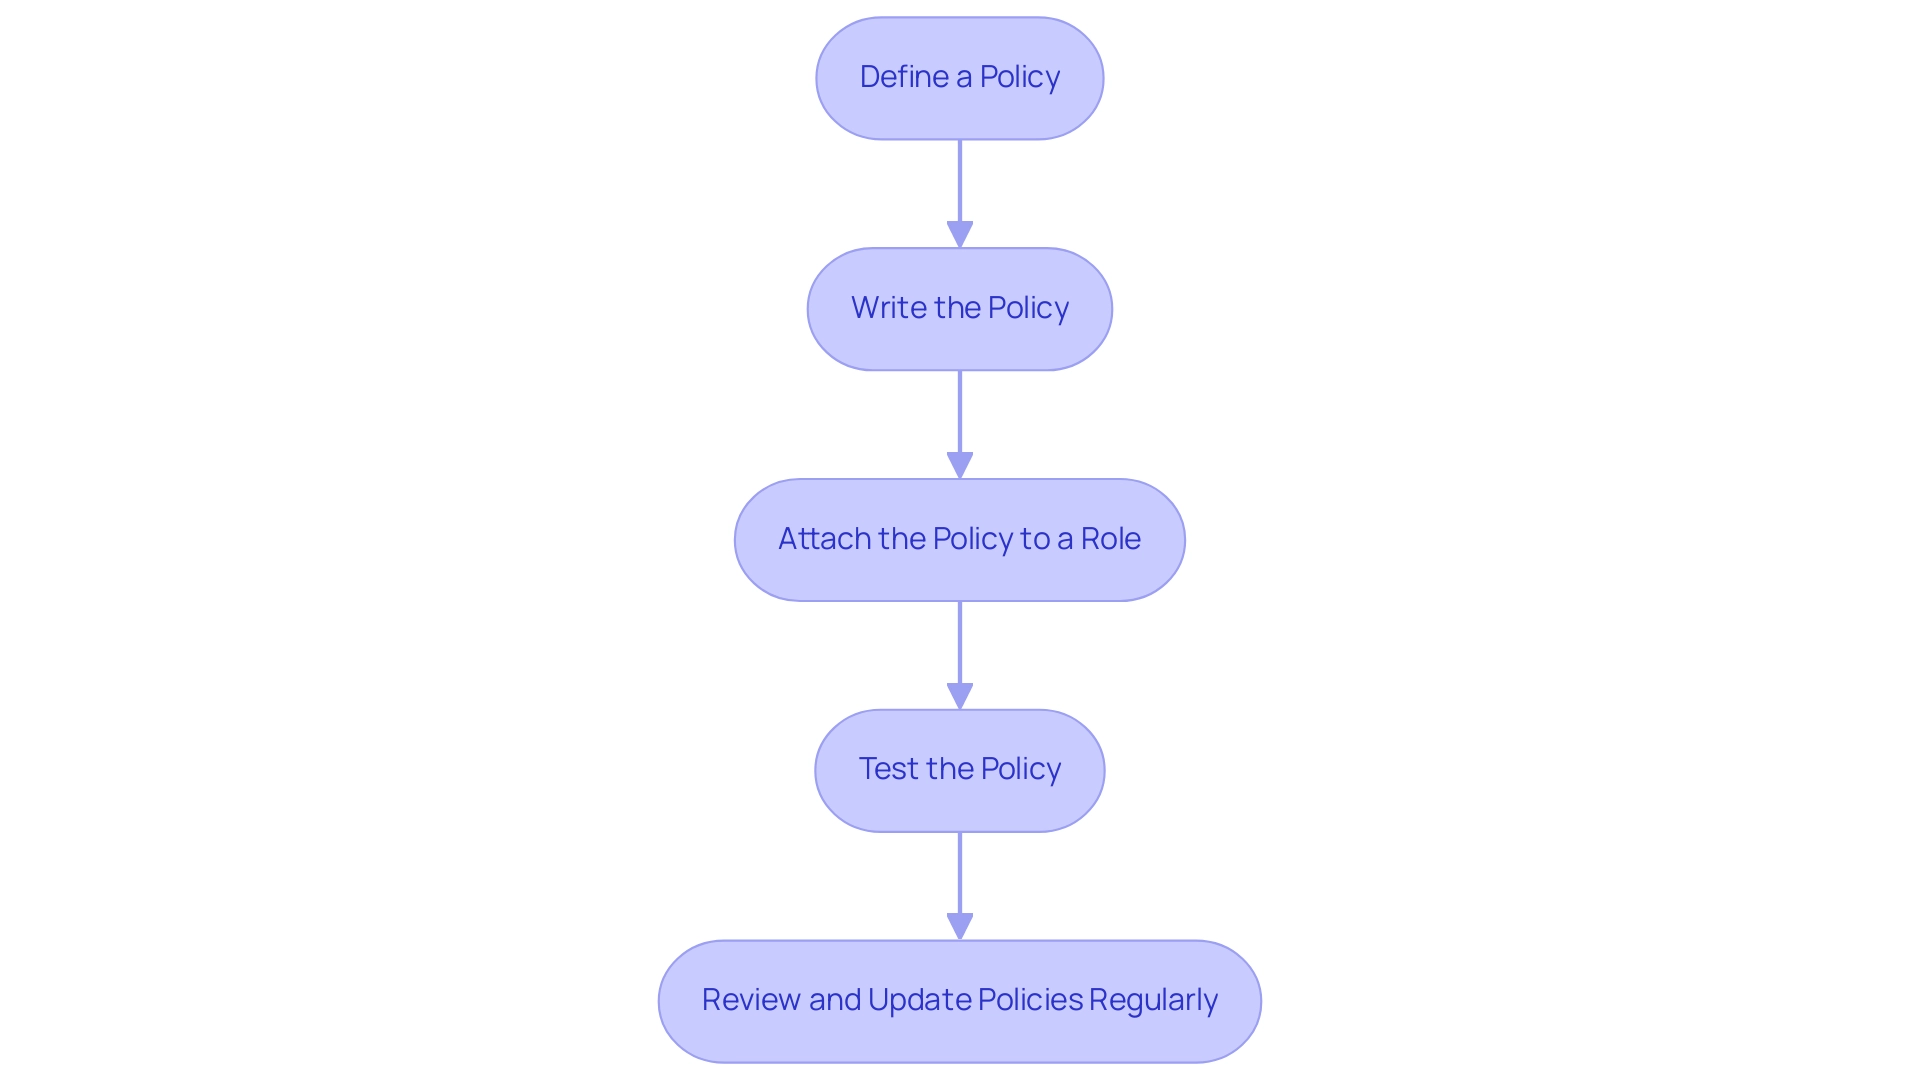
- Define a Policy: Start by creating a policy file (e.g.,
my-policy.hcl) that outlines the necessary permissions. A sample configuration might look like this:
path "secret/*" {
     capabilities = ["create", "read", "update", "delete", "list"]
   }
- Write the Policy: Use the command below to write your policy to Vault:
vault policy write my-policy my-policy.hcl
- Attach the Policy to a Role: Assign this policy to a specific user or role using the following command:
vault write auth/userpass/users/my-user password='my-password' policies='my-policy'
-
Test the Policy: It is essential to verify that the policy works as intended. Attempt to retrieve the secrets outlined in your policy. Should there be any discrepancies, adjust the policy accordingly to ensure proper control.
-
Review and Update Policies Regularly: Conduct regular evaluations of your access policies to ensure they remain aligned with your organization's evolving protection requirements and operational needs. Ongoing enhancement in policy management is vital for sustaining a strong protective stance.
The automation of operations, as emphasized in a recent case study, illustrates how utilizing its API can simplify the tedious tasks of creating and assigning policies, thereby improving management and user experience. By effectively implementing access policies, organizations can exert stringent control over sensitive data and operations in their HashiCorp Vault self-hosted setup, ensuring that only authorized users are permitted to perform critical actions within HashiCorp. As noted by Seth Vargo, "vault login -method= 'userpass' username= 'sethvargo' Password (will be hidden): ..." This underlines that policy management is not merely a technical task, but a fundamental component of an organization’s security strategy.
Backing Up and Restoring Your HashiCorp Vault
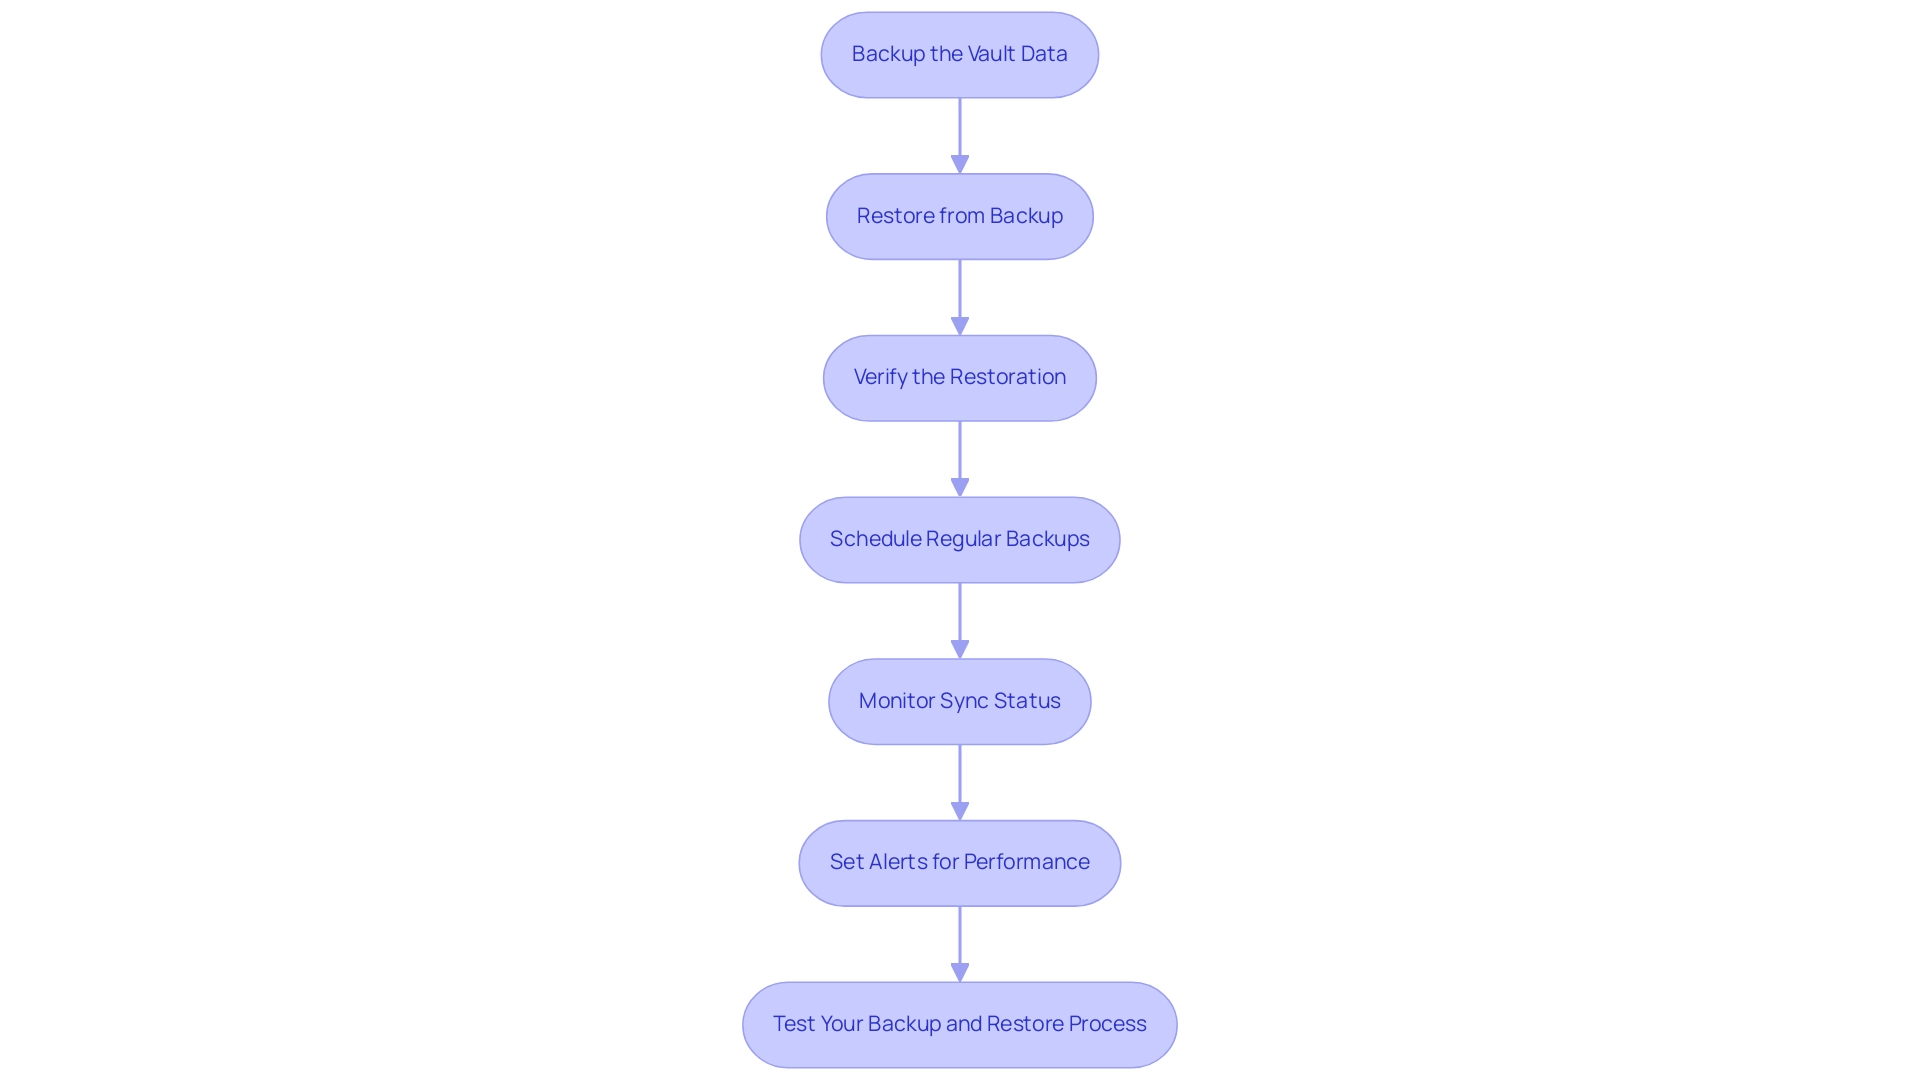
To effectively back up and restore your HashiCorp Vault, adhere to the following structured approach:
- Backup the Vault Data: Utilize the command below to create a secure backup of your Vault data:
vault operator raft snapshot save /path/to/backup/snapshot
Ensure the backup location is both secure and accessible exclusively to authorized personnel, as safeguarding sensitive information is paramount.
- Restore from Backup: In the event of a data loss incident, execute the following command to restore from your snapshot:
vault operator raft snapshot restore /path/to/backup/snapshot
-
Verify the Restoration: Post-restoration, it is crucial to verify the integrity of the data. Access several secrets to confirm they are intact and functional.
-
Schedule Regular Backups: Establish a regular backup schedule to mitigate data loss risks. Automation tools such as cron jobs can streamline this process, ensuring that backups occur consistently without manual intervention.
-
Monitor Sync Status: In high availability scenarios, compare the index of the last WAL on primary and secondary clusters to determine sync status. This step is essential for ensuring that your backups are current and reliable.
-
Set Alerts for Performance: Create alerts when
vault.wal.persistWALsexceeds 1,000 ms to monitor the efficiency of your backup process and respond promptly to potential issues. -
Test Your Backup and Restore Process: Conduct periodic tests of your backup and restore procedures to validate their effectiveness. This proactive step is essential to ensure rapid recovery capabilities in the event of an emergency.
As ixe013 advises, "Use the raft integrated storage instead. It still ends up in the file system (as a hierarchy of files), but the storage solution has a command to generate a snapshot of the storage vault operator raft snapshot save my-backup." Utilizing raft storage not only streamlines the backup procedure but also enables smooth transition to multi-node failover and automated backups (Enterprise) if necessary.
By meticulously following these guidelines, you can ensure that your HashiCorp Vault self-hosted data is reliably backed up and can be restored efficiently. This diligence not only protects sensitive information but also enhances operational stability, particularly in high availability scenarios, where monitoring leadership-related metrics can preempt potential security risks.
Conclusion
Establishing a secure and efficient environment with HashiCorp Vault is critical for organizations aiming to protect sensitive data and streamline access controls. The comprehensive guide provided herein outlines the essential steps, beginning with the effective setup of your Vault server, which lays the groundwork for robust security practices.
Understanding and implementing various authentication methods is paramount, as it ensures that only authorized personnel can access sensitive information. By configuring these methods thoughtfully, organizations can enhance their security posture and maintain operational integrity.
The configuration of secrets engines is another vital aspect of effective data management within Vault. By enabling and managing these engines, organizations can securely store and retrieve sensitive information, thereby minimizing the risk associated with data breaches.
Access policies serve as the backbone of Vault's security framework. Defining, implementing, and regularly reviewing these policies ensure that only those with the appropriate permissions can execute critical actions, reinforcing the overall security strategy.
Finally, establishing reliable backup and restoration practices is essential for maintaining data integrity and availability. Regularly scheduled backups and proactive testing of the restore process safeguard against data loss, ensuring that organizations can recover swiftly from unforeseen incidents.
In summary, by following these detailed steps, organizations can harness the full potential of HashiCorp Vault, creating a secure environment that not only protects sensitive data but also enhances operational efficiency and resilience. The commitment to implementing these best practices will ultimately contribute to a stronger security posture and greater trust in the management of sensitive information.


